Published on:
12 min read

When to Call a Plumber for a Leak: Recognizing Failure Modes and Safe DIY Limits
Not every water leak in your home needs an urgent call to a plumber, but some do—and knowing the difference is crucial. This troubleshooting essay walks through common failure points, plain-language warning signs, and the boundaries of safe DIY versus when to bring in a professional. Clear criteria help you act quickly, protect your home, and avoid unnecessary risks.
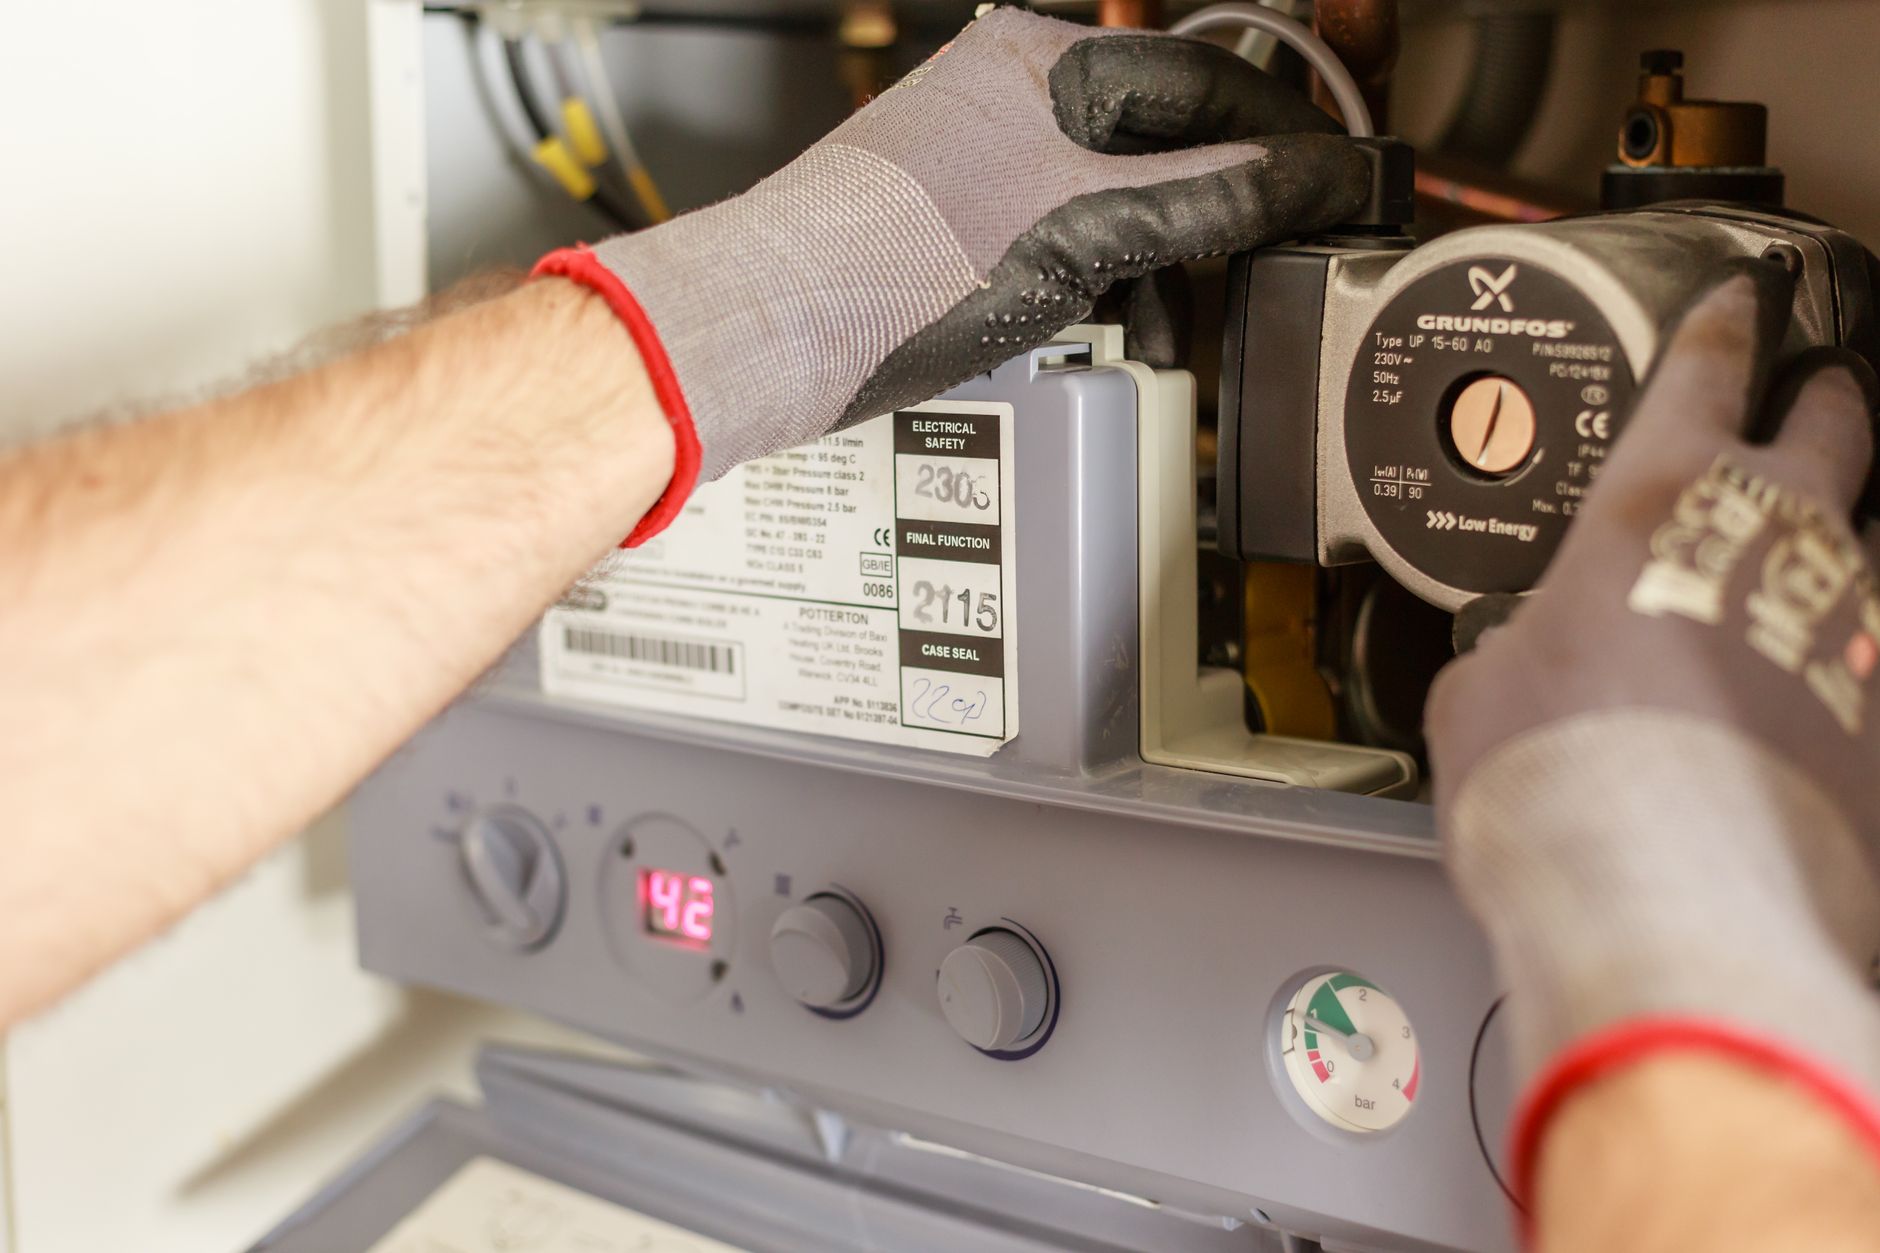
Water pooling on a kitchen floor beneath a sink, with tools and towels nearby
Photo by Heiko Ruth on Pexels

A Leak Appears: Deciding What Happens Next

Picture this: you find water pooling under a sink or hear the telltale drip from behind a wall. The immediate question—should you try to fix it yourself, or is this the moment to call a plumber? The answer depends on the leak's location, severity, and what you can safely access. Some leaks are straightforward, but others hide bigger risks behind drywall or near electrical wiring. Acting quickly is smart, but so is knowing your limits.

First Steps: Contain, Shut Off, and Assess

When water is leaking, your first move is to stop the spread. Turn off the nearest water supply valve—at the fixture if possible, or at the main if needed. If water is reaching outlets or appliances, do not touch anything electrical. Move rugs, furniture, and valuables away from the wet area. Only start drying or inspecting if you’re sure the leak is isolated and there’s no risk of electric shock. If you can’t find the source, or water is coming from ceilings or inside walls, pause and document everything before going further.

Common Leak Failure Modes: What Can Go Wrong

Leaks can show up in several ways, each with its own warning signs. Here are the most frequent failure modes:
  • Fixture Leaks: Drips under sinks, at faucet bases, or around toilets. Usually visible and accessible.
  • Pipe Joint Failures: Water seeping from exposed pipe connections, often due to corrosion or loose fittings.
  • Hidden Wall or Ceiling Leaks: Stains, bubbling paint, or sagging drywall indicate water is traveling out of sight. These can quickly lead to mold and structural damage.
  • Appliance Supply Lines: Washing machines, dishwashers, and refrigerators can spring leaks at hose connections—sometimes flooding large areas fast.
  • Slab or Foundation Leaks: Persistent dampness or unexplained puddles on the lowest floor may signal a leak under the slab, which always requires professional help.
If you notice any of these, match the symptom to the risk. Visible, slow drips may be safe for careful DIY. Anything hidden, fast-spreading, or near electrical or structural elements should be left to the pros.

DIY vs. Professional: How to Tell When to Stop

It’s tempting to tackle a leak yourself, but some situations cross into unsafe territory. Here’s a quick table to help clarify when it’s time to step back:
Leak TypeDIY Safe?Call Plumber Immediately If...
Under-sink dripYes, if accessible and not near electricalLeak persists after tightening, or pipe is cracked
Wall or ceiling stainNoSource not visible, drywall is sagging, or mold is present
Leaking appliance hoseYes, if you can replace hose and shut off waterWater is spreading rapidly or supply valve is stuck
Pipe burst or spraying waterNoCannot stop leak with valve or leak is near electrical
Foundation/slab moistureNoPersistent dampness or pooling water on floor

Hidden Hazards: When Leaks Endanger Safety
Leaks behind walls or above ceilings are especially dangerous because they can lead to mold, rot, or even electrical hazards. If you see bulging drywall, smell musty odors, or notice water near outlets or wiring, stop all DIY attempts. Also, if you need a ladder to inspect or repair a leak, remember that falls are a leading cause of home injuries. Use stable ladders, never overreach, and call a professional if you feel unsafe at any height. For more on household safety best practices, consult the U.S. Consumer Product Safety Commission’s home safety guides.
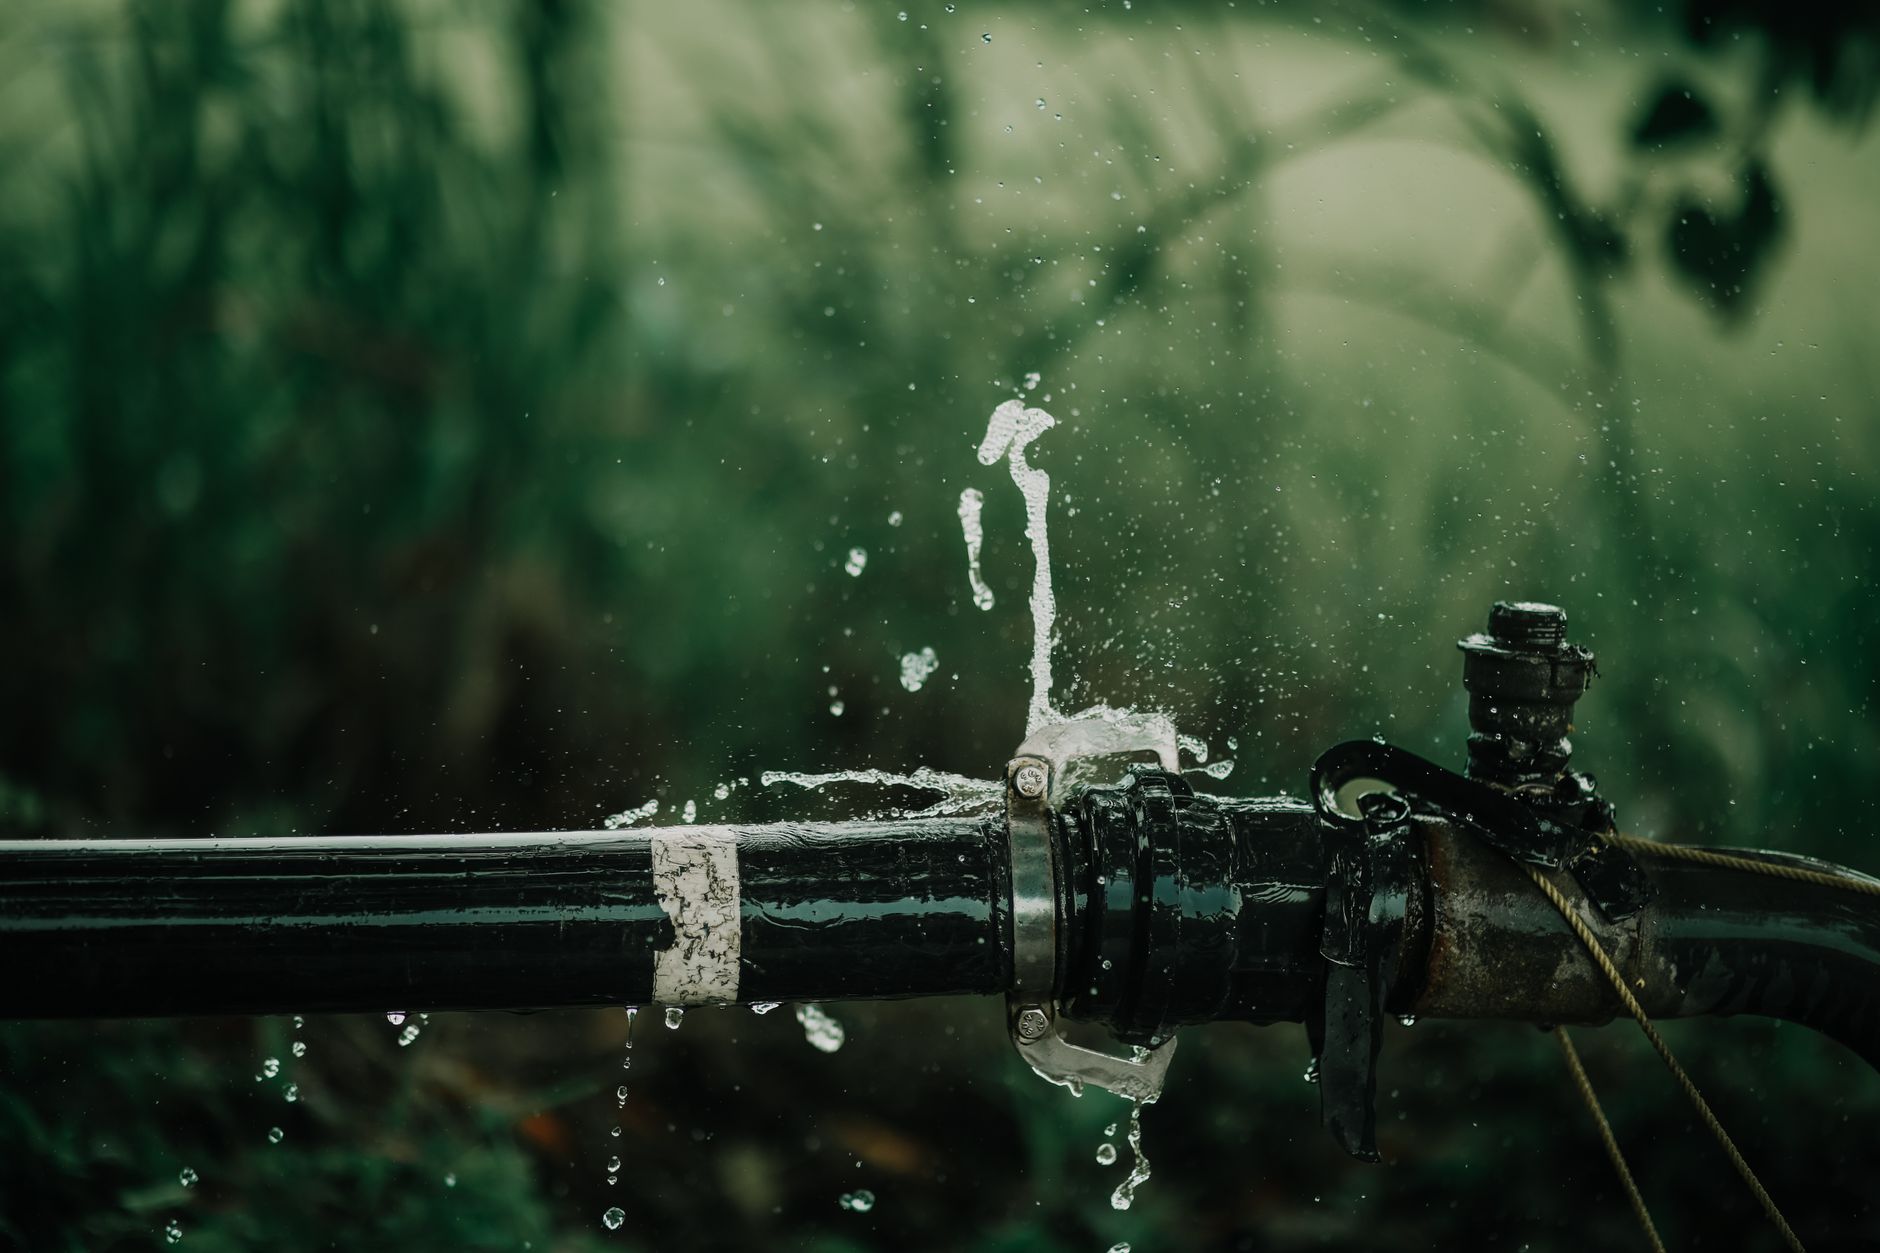
A detailed view of a leaking water pipe in a lush green garden setting.
Photo by aamir dukanwala on Pexels

Documentation: Don’t Skip This Step

Before you mop up or attempt a fix, take clear photos of the leak, surrounding area, and any valves you touch. Note the time, date, and any steps you take (like shutting off water or removing items). This record is vital for insurance claims and helps plumbers diagnose the problem if you need to call one later. Don’t paint over or cover up wet spots—leave everything exposed until the area is dry and the cause is confirmed.

Drying Out: What You Can Safely Do

Once the leak is contained and you’re sure there’s no electrical risk, begin drying the area. Use fans and open windows for airflow, but only if outlets and cords are dry and undamaged. Remove soaked rugs and set wet items on waterproof surfaces. Never turn on your furnace or central AC if water has reached the equipment. If the wet area is large or stays damp for more than a day, professional drying and moisture testing are needed to prevent mold and structural damage. The EPA’s indoor air quality resources highlight the importance of thorough drying to avoid long-term hazards.

Who Handles What: Plumber or Restoration Service?

Plumbers are your go-to for fixing the cause of most leaks—broken pipes, faulty valves, or leaking fixtures. Restoration professionals handle water extraction, drying, and mold cleanup after the leak is stopped. For leaks that have already caused widespread damage, you may need both: the plumber to fix the plumbing, and restoration experts to repair walls, floors, or ceilings and ensure the area is safe.

Preventing the Next Leak

After repairs, take steps to avoid repeat incidents. Learn where all your shutoff valves are and how to use them. Regularly check under sinks and around appliances for early signs of leaks. Replace worn-out hoses and caulk as soon as you spot gaps. Teach everyone in your household how to shut off water in an emergency—it could save you from major damage down the line.

References

Information on household safety hazards, including plumbing and electrical risks, was drawn from the U.S. Consumer Product Safety Commission, Home Safety Guides: https://www.cpsc.gov/Safety-Education/Safety-Guides/Home

Guidance on ladder safety and fall prevention was referenced from CDC NIOSH, Falls in the Workplace—relevant for safe leak inspection and repair: https://www.cdc.gov/niosh/topics/falls/

Discussion of drying procedures and mold prevention is informed by U.S. Environmental Protection Agency, Indoor Air Quality—focusing on safe post-leak cleanup: https://www.epa.gov/indoor-air-quality-iaq

Article information

Published
Share
Mason Rivers

About the author

Mason Rivers

Repairs & Maintenance Editor

Mason Rivers leads TopicFlex's repairs and maintenance coverage. He writes beginner-friendly guides that emphasize safety, when to stop and call a professional, and the tools needed for common household upkeep.

More from Mason

This information is general and is not a substitute for professional advice for your specific situation.
More Stories

Cover image for Unclog a Sink Safely: When DIY Works—and When to Call a Pro
Repairs & Maintenance

Unclog a Sink Safely: When DIY Works—and When to Call a Pro

Facing a slow or stopped-up sink? This practical guide walks you through safe, step-by-step strategies for unclogging your sink at home, while helping you recognize when it’s time to stop and bring in a professional. Learn how to assess the problem, choose safe tools and methods, avoid common hazards, and protect your home from unnecessary risks.

Cover image for Replacing Failed Bathroom Caulk Without Trapping Moisture
Repairs & Maintenance

Replacing Failed Bathroom Caulk Without Trapping Moisture

Failed caulk in the bathroom isn’t just unsightly—it’s an open invitation for mold, leaks, and hidden water damage. Tackling a caulk replacement project sounds straightforward, but skipping key steps can trap moisture behind walls or under fixtures, leading to bigger headaches. This practical guide walks you through a realistic, day-long timeline to replace bathroom caulk safely and thoroughly, with a focus on ventilation and moisture control. By the end, you’ll know how to prep, remove, dry, and recaulk your bathroom for lasting results.

Cover image for Why a Toilet Keeps Running and What You Can Safely Check
Repairs & Maintenance

Why a Toilet Keeps Running and What You Can Safely Check

A running toilet is more than a minor annoyance—it wastes water, strains plumbing, and can hint at deeper issues. Before you consider calling a plumber, there are several practical and safe checks you can perform yourself. This editorial breaks down what causes a toilet to keep running, which fixes are safe for DIY, and how to recognize when it’s time to call in a professional. Follow these step-by-step insights to restore peace (and quiet) to your bathroom, while keeping safety and water conservation in mind.