Published on:
5 min read

Cordless Drill Features for Beginners: What to Look For
Hardware aisles are full of cordless drills with features you may never use. For typical home projects, a few specs actually matter—clutch control, variable speed, battery platform, and basic safety habits. Here is how to choose one and put it to work on a common job like hanging shelves.
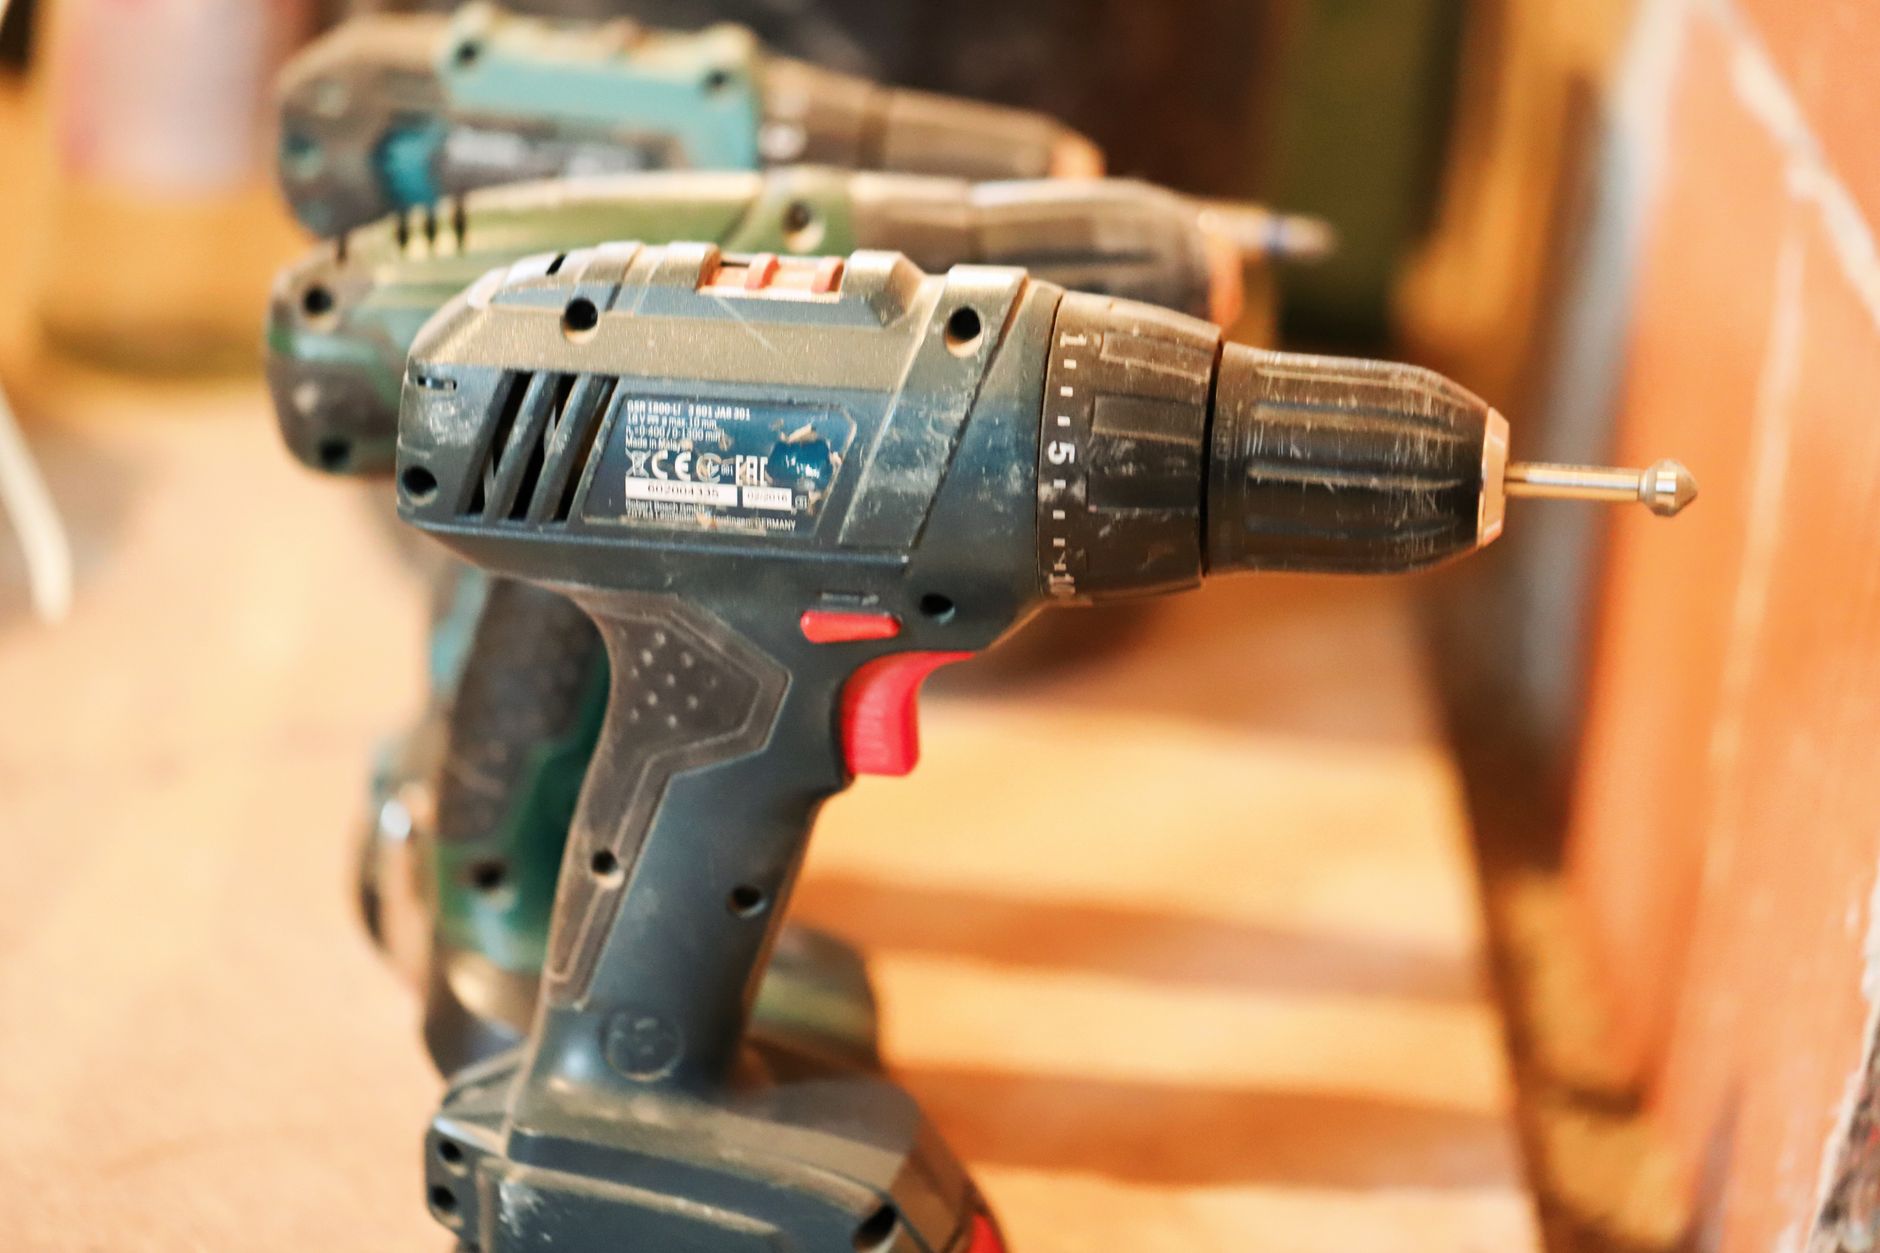
A selection of cordless drills with visible features such as clutches, chucks, and battery packs, arranged on a workbench.
Photo by Christina & Peter on Pexels

Facing the First Drill Decision

If you have ever stood in a hardware aisle bewildered by rows of cordless drills, you are not alone. For beginners, the challenge is not just picking a brand—it is understanding which features genuinely make DIY safer and easier, and which are just marketing extras. A poor choice can mean stripped screws, damaged materials, or even injury. The sections below focus on the cordless drill features that matter for most home projects, from shopping to your first real task.

Drill Features That Matter for Home Use

When selecting a cordless drill for home use, five features stand out for beginners:
  • Adjustable clutch: Prevents overdriving screws and damaging materials.
  • Variable speed trigger: Allows precise control, especially when starting holes or driving fasteners.
  • Keyless chuck: Makes bit changes quick and tool-free.
  • Battery platform: Determines runtime, weight, and compatibility with other tools.
  • Built-in work light: Improves visibility in tight or dim spaces.
Other features, such as hammer mode or brushless motors, may be useful but are not essential for most basic home tasks. Prioritizing these essentials helps avoid both overspending and underperforming.

Safety Considerations: Avoiding Common Pitfalls

Cordless drills are generally safe, but improper use can result in injuries or home hazards. For example, failing to use the clutch when driving screws can strip fasteners or even damage your project. Drilling into unknown walls risks hitting wires or pipes. Always check your work area before drilling, and use proper eye protection. If you encounter tough materials like masonry or concrete, do not force your standard drill—rent a specialized tool or call a professional. Battery care is also critical: never use a damaged or swollen battery, and store batteries away from heat or moisture. For chemical safety when cleaning up after a project, choose products with clear household-safe labeling, and call Poison Control if accidental exposure occurs.

Matching Drill Types to Common Home Projects

Drills fall into three basic categories for home use:
  • Compact/light-duty (typically 12V): Best for furniture assembly, hanging pictures, and other light tasks where control and low weight matter.
  • General-purpose (18V or 20V): Handles most household drilling and driving, including light woodwork and occasional masonry with the right bit.
  • Heavy-duty (hammer drill, high-torque): Reserved for more demanding jobs—often more than a beginner needs.
For a first drill, a general-purpose model with a reliable clutch and variable speed is usually the most versatile choice.
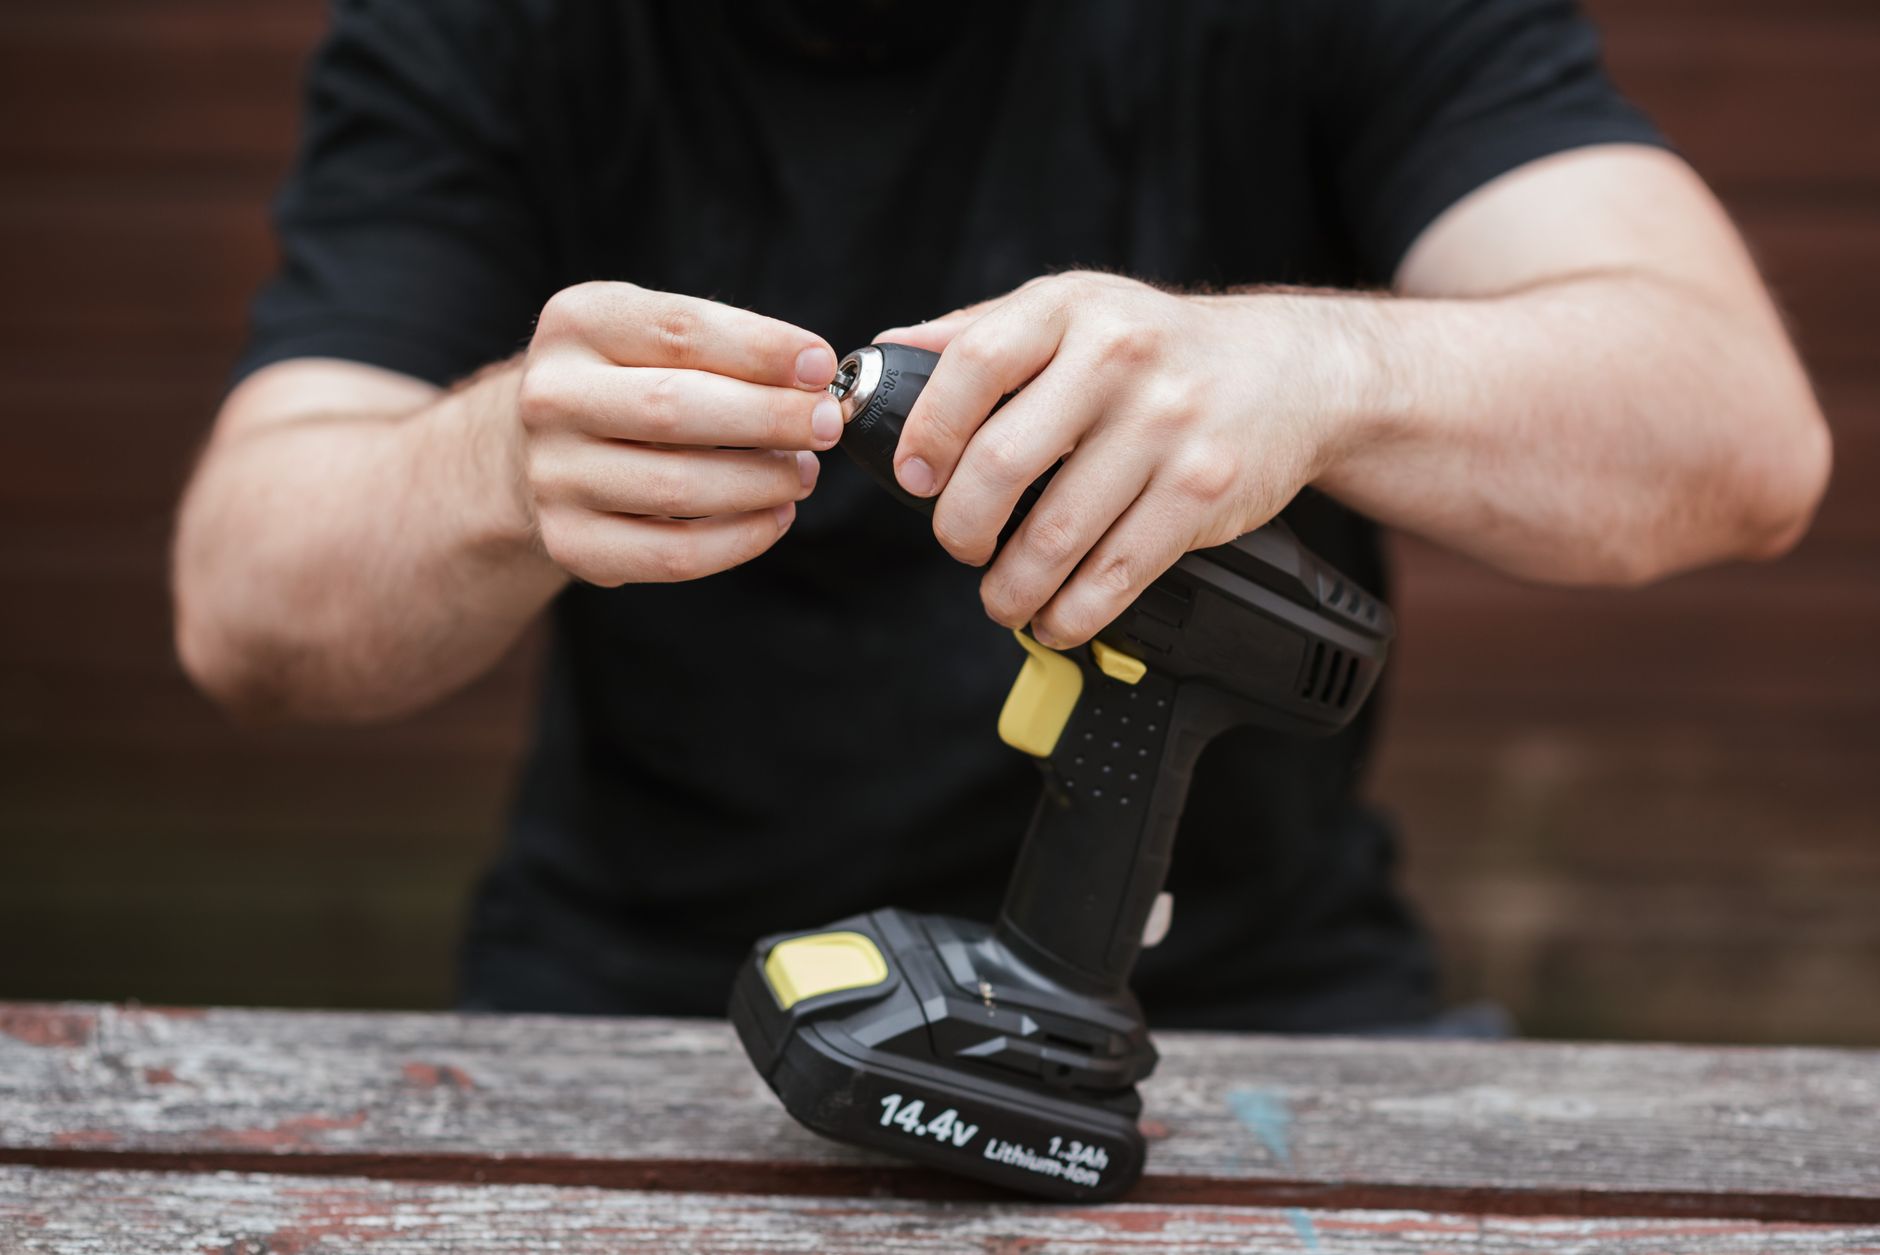
Crop anonymous skilled master in casual outfit preparing electric drill for job on wooden table in soft daylight
Photo by Anete Lusina on Pexels

How to Evaluate Drill Ergonomics in Store

Grip comfort, balance, and trigger reach are often overlooked, but they make a real difference in fatigue and control. When possible, handle the drill in person:
  • Hold it as you would during a real project. Is the grip comfortable for your hand size?
  • Test the trigger—can you smoothly vary the speed from slow to fast?
  • Check the balance with a battery installed. A front-heavy drill can tire your wrist quickly.
If you have wrist or grip strength limitations, prioritize lighter models. For extended work, a well-balanced drill reduces strain and helps keep your holes straight.

Battery Basics: What to Know Before You Buy

Most cordless drills today use lithium-ion batteries. For beginners, a battery rated at 1.5–2.0 amp-hours (Ah) is sufficient for most tasks. Higher Ah means longer runtime, but also more weight. Always use batteries and chargers from the same manufacturer to avoid malfunctions or safety risks. If you plan to expand your tool collection, choose a drill that is part of a broader battery platform—this saves money and storage space in the long run. Store batteries indoors, away from extreme heat or cold, and replace any that show signs of damage.

Checklist: Core Features to Look For

When comparing drills, use this quick checklist:
  • Adjustable clutch with multiple settings
  • Smooth variable speed trigger
  • Keyless chuck for easy bit changes
  • Battery system compatible with other tools you own or plan to buy
  • Built-in LED work light
Optional: Hammer mode (for masonry) Avoid drills lacking a clutch or with only two-speed settings labeled as "variable." If you are unsure about a feature, ask for an in-store demonstration.
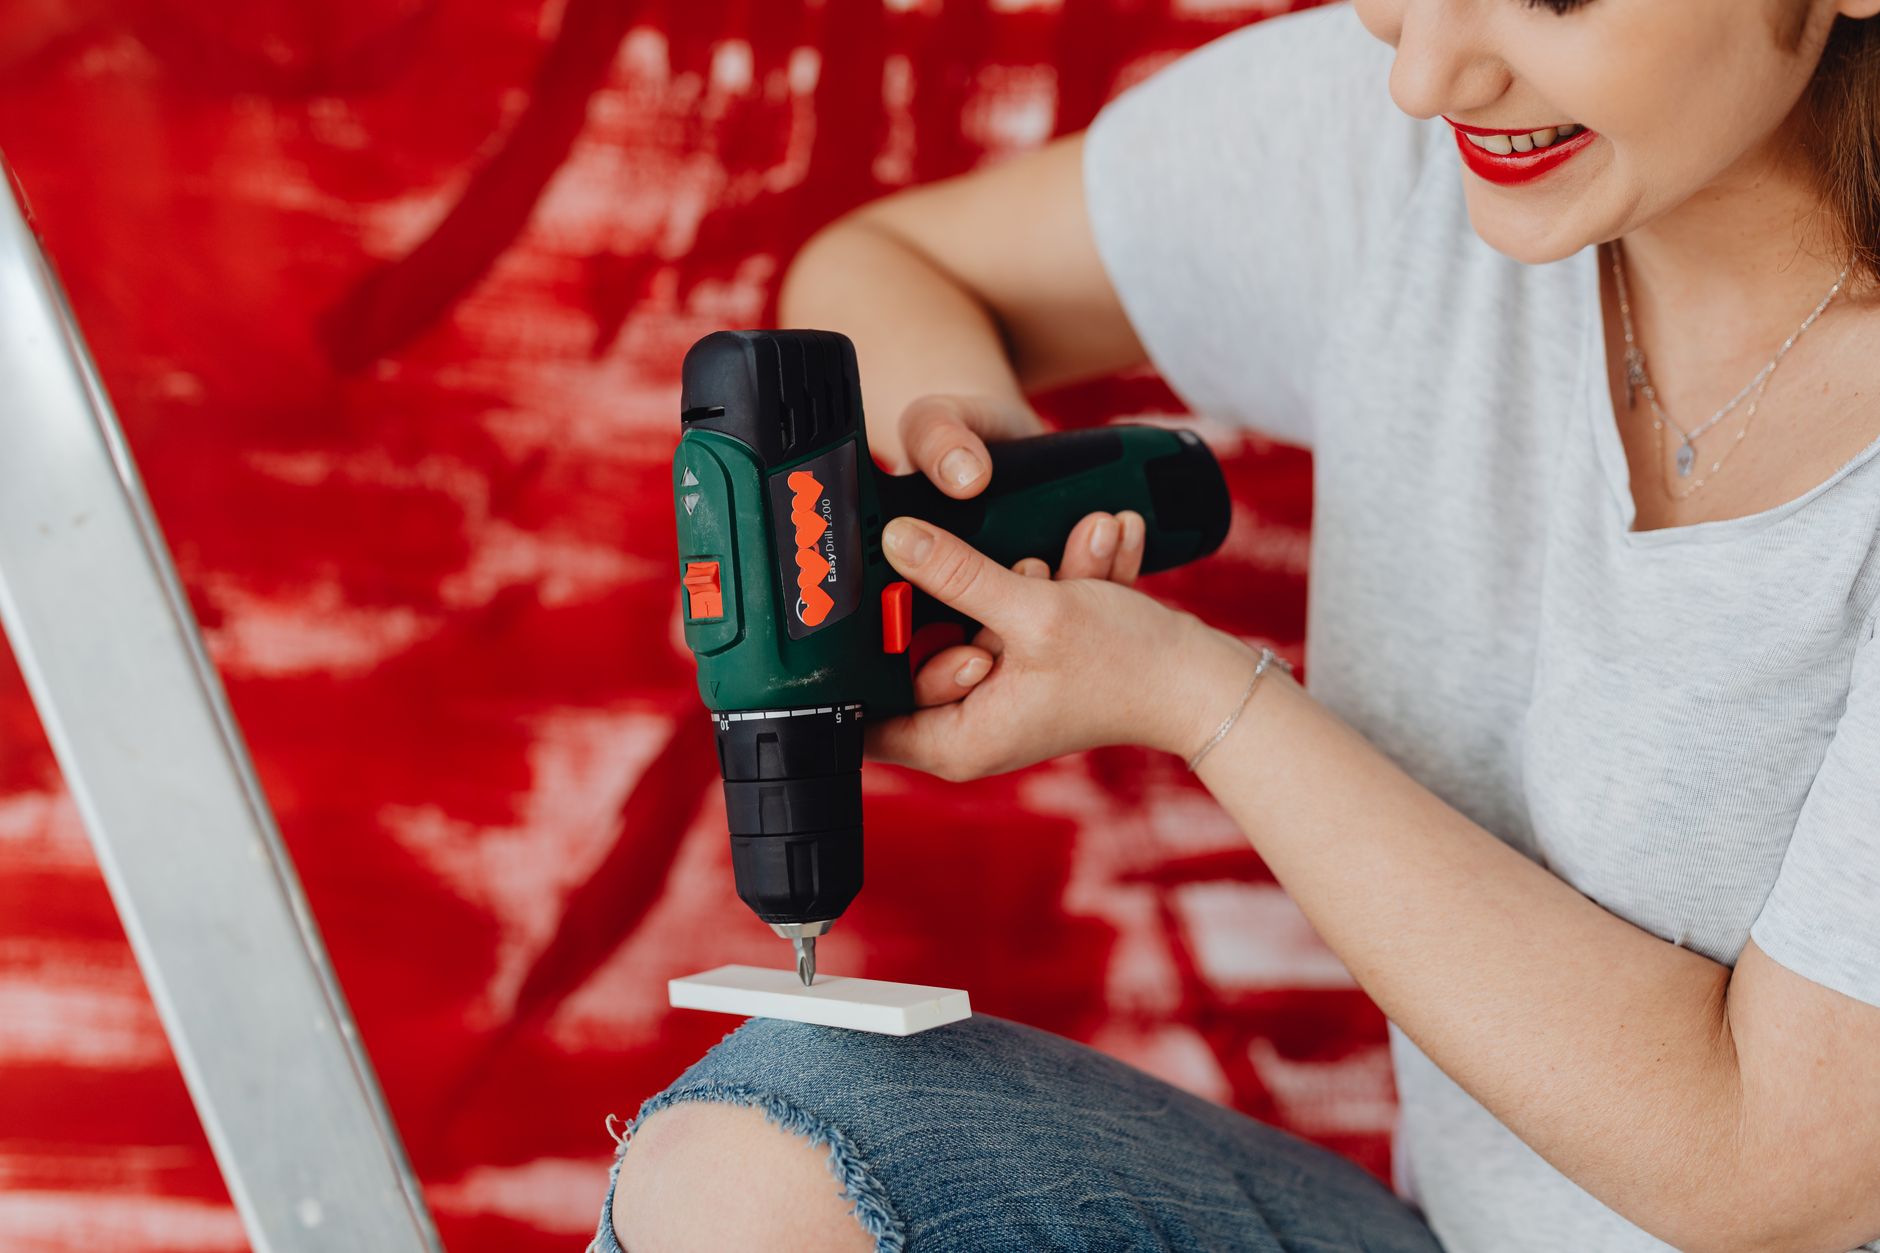
A smiling woman using a cordless drill, engaged in a home renovation project with a red background.
Photo by https://kaboompics.com/ on Pexels

Installing Wall Shelves: Putting the Features to Work

Mounting floating shelves on drywall over wood studs is one of the most common beginner projects. Here is how the right drill features make a difference: 1. Mark stud locations and double-check for wires or pipes behind the wall. (If in doubt, use a stud finder and stop if you hit unexpected resistance.) 2. Use the variable speed trigger to start pilot holes slowly, reducing the risk of bit wandering or wall damage. 3. Set the clutch to a low or medium setting when driving screws—this prevents over-tightening and protects both the screw and wall. 4. The built-in work light helps you see your marks clearly, especially in dim corners. 5. If your shelves require masonry anchors and you hit brick or concrete, do not force it; use a hammer drill with the right bit, or consider hiring a pro for this step. This approach not only safeguards your project but also helps avoid common DIY mistakes and injuries.

When to Seek Professional Help

If you are unsure about drilling into walls—especially exterior or load-bearing ones—or if you have to drill into concrete, tile, or near electrical lines, it is wise to consult a professional. Attempting advanced tasks with a beginner drill can lead to costly damage or personal injury. For chemical cleanup or battery disposal, follow EPA recommendations and never mix cleaning agents without checking safety guidelines.

References

Ready.gov, Home Fires — preparedness actions for common household fire hazards, and guidance on safe tool use in the home. https://www.ready.gov/home-fires

Centers for Disease Control and Prevention, Chemical Emergencies — high-level chemical exposure framing for household product misuse and DIY project cleanup. https://www.cdc.gov/chemical-emergencies/index.html

Poison Control (poison.org) — immediate guidance resource when household chemicals are swallowed or misused during DIY. https://www.poison.org/

U.S. Environmental Protection Agency, Safer Choice — product-label program useful when choosing household cleaners for DIY jobs and post-project cleanup. https://www.epa.gov/saferchoice

CDC NIOSH, Falls in the Workplace — fall-hazard context applicable to household ladder use and overhead drilling tasks. https://www.cdc.gov/niosh/topics/falls/

Article information

Published
Share
Scarlett Hayes

About the author

Scarlett Hayes

Tools, Organization & Smart Home Contributor

Scarlett Hayes writes TopicFlex's tools, organization, and smart-home basics. She explains product categories, storage systems, and beginner-friendly automation ideas.

More from Scarlett

This information is general and is not a substitute for professional advice for your specific situation.
More Stories

Cover image for Beginner Home Tool Kit Essentials: A Stepwise Guide for Practical DIY
Tools & Materials

Beginner Home Tool Kit Essentials: A Stepwise Guide for Practical DIY

Starting home projects without the right tools can turn a simple fix into a major headache. This guide explains how to build a beginner home tool kit that covers the most common household repairs and improvements—without cluttering your space or risking safety. Learn which tools truly matter, how to organize and care for them, and when to call in a professional.

Cover image for Which Type of Clamp to Use for Common Beginner DIY Jobs
Tools & Materials

Which Type of Clamp to Use for Common Beginner DIY Jobs

Choosing the right clamp can make or break your first DIY project. This guide helps beginners navigate the wide world of clamp types, from gluing up a wobbly chair to building raised planters. Learn when to reach for a quick-grip, when to stop and rethink your approach, and why the wrong clamp can ruin a project or even pose a safety risk. Discover practical tips for safe, effective clamping that lead to smoother results in all your everyday DIY tasks.

Cover image for Sandpaper Grits Explained Through Real Home Projects
Tools & Materials

Sandpaper Grits Explained Through Real Home Projects

Choosing the right sandpaper grit can make or break your DIY project, whether you're prepping a planter box, refinishing a door, or smoothing drywall. This practical guide sequences a realistic home improvement day, explaining when to reach for coarse, medium, or fine grits—so you avoid wasted effort and get pro-level results. Along the way, you'll learn how grit choices affect not only your finish but also your safety, air quality, and tool longevity.

Cover image for Choosing the Correct Drill Bit for Wood, Metal, Tile, and Masonry
Tools & Materials

Choosing the Correct Drill Bit for Wood, Metal, Tile, and Masonry

Nothing derails a home project faster than using the wrong drill bit. Whether you’re mounting shelves, installing curtain rods, or tackling bathroom tile, choosing the correct bit isn’t just about efficiency—it’s about preventing damage to your tools, your materials, and sometimes even your safety. This drill bit types guide helps you decide not just what to use, but when to pause and rethink before you drill, especially when working with unfamiliar materials or in homes built before 1978.